Wednesday, April 13, 2016

Photo Montage

During class we learnt how to use the action tool in Photoshop.
We recorded changes we made to one photo then replayed the changes to a pile of similar photos.

With these photos we were to create a photo montage.

Close ups of an old film camera

Close ups of a road bump

Layer Adjustments

Hue/Saturation Changes
Effects Changes

In these photos I changed the hue/saturation, the vibrancy and added filters.


Sunday, April 10, 2016

Clear Cutting

During Digital Media we learnt about the cutting and masking tools in Photoshop

Colour Range tool: before and after


Pen tool: before and after


Layer Mask tool: before and after

Damaged Photo

Damaged Photo

Repaired Photo

Thursday, March 17, 2016

Retouching

 In class today we learnt how to use the red eye tool, the clone stamp tool, the healing tool, the spot healing tool and the patch tool.

Red Eye Tool
Before
After

Clone Stamp Tool

Before
After

Healing Tool

Before
After

Spot Healing Tool

Before
After


 Patch Tool
Before
After

Wednesday, March 16, 2016

Field Trip

Photos from our field trip to Pukekura Park


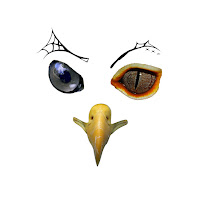
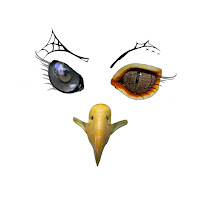
Make a Face

During class last week we learnt how to layer a face together using different sections of multiple faces.

I used an eagle beak, a gecko eye, a hawk eye, a sheep eye. a tiger eyes, eye lashes and 3 eyebrows. The eye lashes, sheep eye and tiger eye all have a lower opacity which makes them slightly faded.


After we learnt to layer our image together we added a color block layer. I chose to add 4 colour block layers. A blue layer with a hard mix blend mode set, a pink layer with a hue blend mode set, a purple layer with a hard mix set and lastly a black and pink gradient layer with a linear burn blend mode set.

Blue Layer
Blue and Pink Layer
Blue, Pink and Purple Layer
Black and Pink Gradient Layer